Skip to content


Summarize with
Quick Answer: Choosing the right paint can make a significant difference in how your interior walls look and how long the finish lasts. Many Austin homeowners consider paint and primer in one because it promises better coverage and fewer steps. But is it really enough to skip a separate primer? The answer depends on the condition of your walls. A previously painted bedroom may only need a quality self priming paint. A newly installed drywall surface needs a different approach.
Austin homes also experience changing temperatures and humidity throughout the year. These conditions make proper surface preparation and product selection important for a lasting interior paint job. With more than 22 years of experience, Color Stars Painting LLC helps homeowners choose suitable painting products and application methods for their walls.
In this guide, we explain when combination paint works and when a separate primer is the better choice.
Key Takeaways
- Paint and primer in one works best on previously painted walls in good condition.
- New drywall needs a dedicated drywall primer.
- Stains and water damage require appropriate stain-blocking primers.
- Dark colors may need a tinted primer and additional paint coats.
- Surface preparation matters as much as paint quality.
- The right number of coats depends on wall condition and paint coverage.
Paint and Primer in One vs. Separate Primer and Paint
The main difference is their purpose. Paint adds color and protection, while primer prepares the surface for better adhesion and coverage. A combination product is designed to provide stronger coverage on suitable existing surfaces. A dedicated primer is formulated for specific problems such as porous drywall and stains.
| Feature | Paint and primer in one | Separate primer |
|---|---|---|
| Main purpose | Color and improved coverage | Surface preparation |
| Previously painted walls | Often suitable | Needed for certain conditions |
| New drywall | Not recommended as a substitute | Recommended |
| Water stains | Usually insufficient | Use stain-blocking primer |
| Glossy surfaces | May have poor adhesion | Use bonding primer |
| Dark color changes | Can improve coverage | Tinted primer may help |
| Application | Usually fewer steps | Requires separate application |
Why Are They Different?
Primer creates a suitable base for the finish coat. It helps control absorption and improves adhesion on surfaces that need preparation. Paint provides the decorative finish. It also protects the wall against everyday wear.
Some combination paints have higher solids content and better hiding ability. This helps cover existing colors. However, it does not mean the product can seal every porous surface or block every stain.
When does combination paint make sense?
It is generally a good option when:
- Your walls already have a sound latex or acrylic coating.
- The existing finish is not peeling.
- There are no major water stains.
- You are changing from one color to another.
- The surface is clean and properly prepared.
If the wall has exposed drywall or extensive repairs, then a separate primer is the safer choice.
When to Use a Separate Primer Before Painting Interior Walls
A separate primer is important when the wall has a problem that regular paint cannot properly address. It prepares the surface so the finish coat can perform as intended.
1. New Drywall and Joint Compound
New drywall absorbs paint unevenly. Fresh joint compound is also porous and can create visible differences in the final finish. Using a dedicated new drywall primer seals the surface and creates a more consistent base.
The process includes:
- Removing drywall dust.
- Checking joints and screw holes.
- Sanding rough areas.
- Applying drywall primer.
- Allowing the primer to dry.
- Applying the finish paint.
Skipping this step can cause flashing. This happens when repaired areas appear different from the surrounding wall after painting.
2. Water Stains and Smoke Damage
Water marks and smoke stains can bleed through regular paint. Applying additional finish coats does not always solve the problem. A stain-blocking primer helps seal these marks before the new color is applied. First, identify the source of moisture. Repair any leak and allow the surface to dry before painting.
3. Glossy and Previously Coated Surfaces
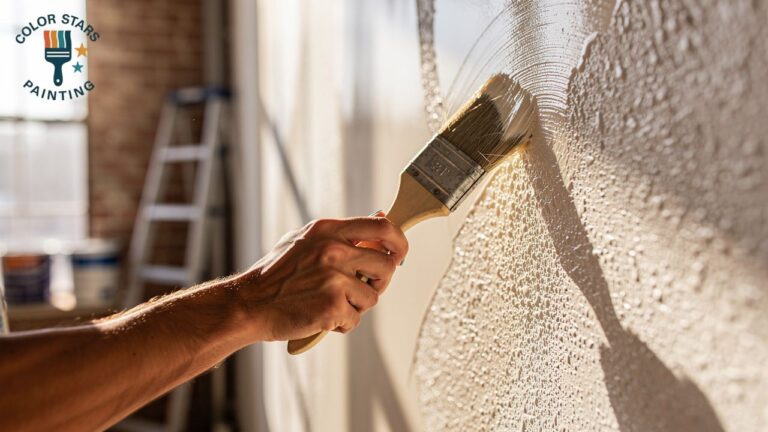
Glossy walls may prevent new paint from gripping properly. Clean the surface and lightly sand it when appropriate. Apply a suitable bonding primer if the existing finish requires it.
4. Bare or Repaired Surfaces
Fresh patches and exposed wall sections absorb paint differently from the surrounding finish. Spot priming small repairs can help create a uniform appearance. Extensive drywall repairs may need a full primer coat. For more information about safe renovation practices in older properties, see the EPA Lead Renovation, Repair and Painting Program.
Austin Climate and Interior Painting: What Homeowners Should Know
Austin’s climate makes product selection and drying conditions important. Hot summers and changing humidity can affect how comfortable it is to ventilate a freshly painted room. According to the National Weather Service, Austin has a humid subtropical climate with long hot summers and around 35.5 inches of annual rainfall.
Humidity and Drying Time
High humidity can slow water evaporation from water-based coatings. This may affect drying and recoating times. Homeowners should avoid assuming that every coat will dry within the same number of hours. Follow the manufacturer’s instructions and maintain suitable indoor ventilation.
Older Austin homes need careful preparation. Austin has historic neighborhoods with older homes and distinctive architectural styles. Hyde Park and Travis Heights are examples where homeowners may encounter older wall finishes and previous repairs. Before sanding or scraping an older painted surface, check whether lead based paint could be present. Homes built before 1978 require particular attention.
The Austin historic districts information can help homeowners understand the city’s historic neighborhoods.
Consider these factors before buying paint:
- Room ventilation.
- Surface condition.
- Paint manufacturer’s temperature requirements.
- Expected indoor humidity.
- Product drying and recoating instructions.
- The room’s daily use.
For indoor projects, you can also review the EPA’s guidance on volatile organic compounds in household products.
Do I Need Primer to Paint Walls That Are Already Painted?
You do not always need a separate primer when painting over existing paint. The decision depends on the current finish and the condition of the wall. If the existing coating is clean and firmly attached, then a quality interior paint may be enough.
You can often paint directly over an existing finish when:
- The wall has no peeling paint.
- The existing coating is not glossy.
- There are no major stains.
- The wall is clean and dry.
- The new paint is compatible with the old coating.
When Separate Primer Is Necessary
A separate primer is recommended when the wall has bare patches or exposed drywall. It is also useful when covering water stains or sealing repaired areas.
| Tip 1: Wash walls before painting. Grease and dirt can interfere with paint adhesion. Pay particular attention to kitchen walls and areas around light switches. |
The Importance of Surface Preparation
A good painting result begins before the first coat.
Professional preparation may include:
- Drywall repair.
- Filling nail holes.
- Sanding uneven areas.
- Texture matching.
- Removing loose paint.
- Cleaning the surface.
- Caulking gaps where appropriate.
These steps help create a smooth and even finish.
How Many Coats of Paint for Interior Walls?
Most previously painted interior walls need two finish coats for consistent coverage and a uniform appearance. Some surfaces may need additional coats depending on the color and condition.
| Wall condition | Suggested approach |
|---|---|
| Same color repaint | 1 to 2 coats |
| Light color change | Usually 2 coats |
| Dark to light color | Primer plus 2 coats |
| New drywall | 1 primer coat plus 2 finish coats |
| Repaired drywall | Spot primer or full primer as needed plus finish coats |
| Heavy stains | Stain-blocking primer plus finish coats |
These are general planning guidelines. Always follow the paint manufacturer’s coverage instructions.
Why Two Coats Often Produce Better Results
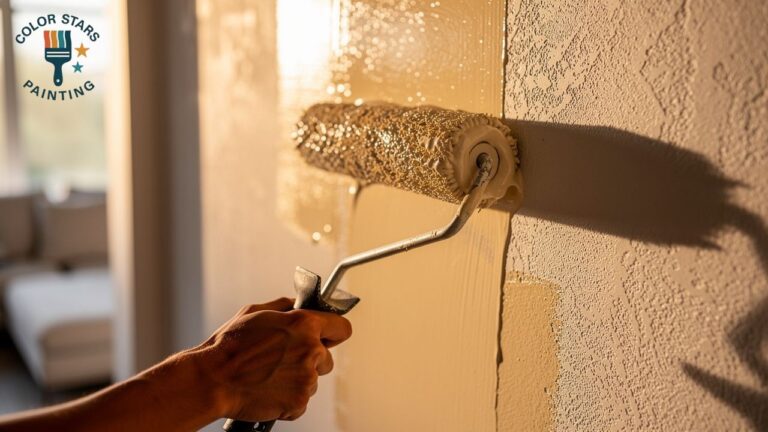
The first coat establishes the base color. The second coat improves uniformity and helps cover thin areas. One coat may leave roller marks or visible differences in sheen.
How to apply each coat properly?
- Start with a clean and prepared surface.
- Apply the first coat evenly.
- Maintain a consistent rolling technique.
- Allow the paint to dry according to the label.
- Check for missed spots and uneven coverage.
- Apply the second coat when the first is ready.
| Pro Tip: Use the same roller nap and application technique throughout the room. Changing tools halfway through can create differences in texture. |
Painting Over Dark Paint: How to Get an Even Finish
A lighter finish over a dark wall may need a dedicated primer before the final coats. For example, a homeowner changing a dark navy bedroom into a soft white room should not assume that two coats will always hide the old color.
Choose the Right Primer Color
A white primer may work for many light colors. A tinted primer can also help when moving between strongly contrasting shades. The right tint depends on the final paint color and the manufacturer’s recommendations.
Follow the Correct Application Process:
Step 1: Inspect the existing finish
Check for peeling areas and surface damage.
Step 2: Clean and prepare the wall
Remove dirt and repair imperfections before priming.
Step 3: Apply a suitable primer
Use a dedicated primer if the old color is likely to show through.
Step 4: Apply the first finish coat
Spread the paint evenly and avoid excessive rolling.
Step 5: Apply the second finish coat
Check the wall under normal room lighting to identify uneven areas.
Common mistakes when covering dark colors
- Using low quality paint.
- Skipping necessary primer.
- Applying thick coats.
- Painting over damaged surfaces.
- Recoating before the previous layer is ready.
Good preparation makes color changes more predictable and reduces unnecessary repainting.
The Professional Interior Painting Process
A lasting interior finish requires more than selecting a good paint product. The correct sequence of inspection and preparation helps prevent peeling and uneven coverage. Color Stars Painting LLC follows a preparation focused approach to interior painting.
Step 1: Inspect the Walls
The first step is checking the existing coating and identifying damaged areas.
The inspection should look for:
- Cracks and nail holes.
- Peeling or bubbling paint.
- Water stains.
- Glossy finishes.
- Previous drywall repairs.
- Uneven wall textures.
Step 2: Protect the Room
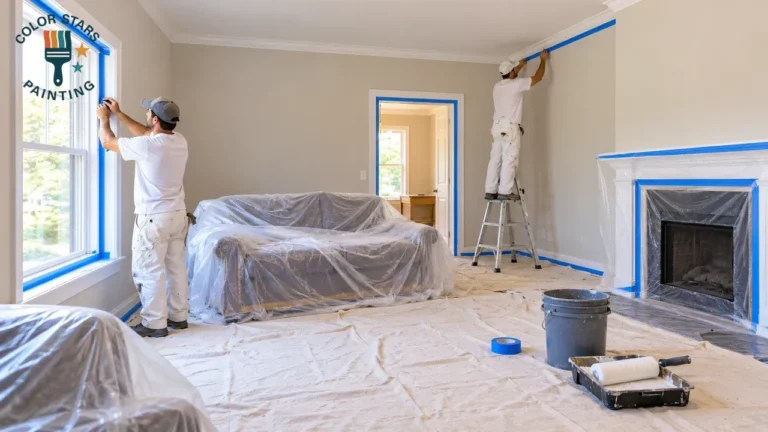
Furniture and flooring should be covered before work begins. Remove wall decorations and protect electrical fixtures and trim. Proper masking also helps achieve clean paint lines.
Step 3: Repair and Prepare the Surface
Fill holes and cracks with suitable repair materials. Sand rough areas and match existing textures where necessary. If the wall has significant damage, then repairs should be completed before any primer is applied.
Step 4: Select the Correct Primer
Not every wall needs the same primer. Choose a drywall sealer for new drywall and a stain-blocking product for stained surfaces. A bonding primer may be necessary for glossy finishes.
Step 5: Apply the Finish Coats
Apply the selected interior paint evenly. Allow sufficient drying time between coats. Inspect the finish under normal lighting before deciding whether another coat is necessary.
Step 6: Complete the Final Inspection
Check corners and edges along with the main wall surfaces. Remove masking materials and clean the work area. The final walkthrough should identify missed spots and any imperfections that need attention.
Choosing the Right Paint and Primer Products
Product selection depends on the surface and the finish you want to achieve. A premium paint product cannot compensate for an incorrectly prepared wall.
Understand Different Primer Types
| Primer type | Best application |
|---|---|
| Drywall primer | New drywall and joint compound |
| Stain-blocking primer | Water marks and smoke stains |
| Bonding primer | Glossy and difficult surfaces |
| Shellac-based primer | Certain stubborn stains and odors |
| Oil-based primer | Specific bare surfaces and stain problems |
| Tinted primer | Certain dramatic color changes |
Always check product compatibility before application.
Consider the Finish and Room Usage.
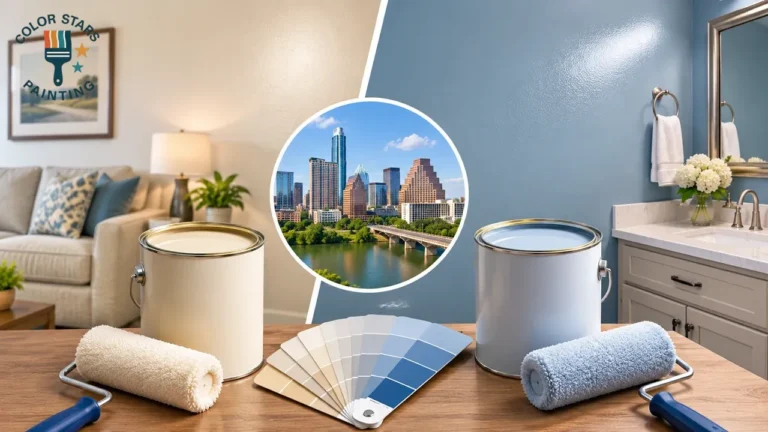
Flat finishes can help reduce the appearance of minor wall imperfections. Satin and eggshell finishes are often selected for rooms where easier cleaning is important. Bedrooms and living rooms may have different requirements from kitchens and bathrooms.
| Tip 2: Buy enough paint from the same product line and preferably the same batch for the entire room. This helps maintain consistent color and finish. |
For homeowners planning a complete interior update, the Color Stars Painting LLC interior and exterior painting services page provides more information about available services.
Frequently Asked Questions
1. Do paint and primer in one really work?
Yes. Paint and primer in one works well on previously painted walls that are clean and in good condition. It improves hiding ability and can reduce the need for additional finish coats. However, it does not replace a dedicated primer on new drywall or heavily stained surfaces.
2. Is paint and primer in one good for new drywall?
No. It should not be used as a replacement for a dedicated drywall primer. New drywall and joint compound absorb paint differently. A proper drywall primer seals these surfaces and helps create an even finish.
3. Is there a primer and paint all in one?
Yes. Many paint manufacturers sell products marketed as self-priming paint or paint and primer in one. These products combine color coverage with improved hiding ability. Their suitability depends on the wall condition and product specifications.
4. Do I need paint and primer in one?
Not necessarily. If your existing walls are clean and properly painted, then a quality interior paint may already provide sufficient coverage. When deciding do i need primer to paint over paint consider the existing coating and whether the surface has stains or repairs. A separate primer is still important when the surface requires sealing or better adhesion.
5. Do I need 1 or 2 coats of primer on new drywall?
One properly applied coat of quality drywall primer is generally sufficient for standard new drywall. However, heavily repaired or unevenly absorbent surfaces may require additional preparation or another application. Follow the product manufacturer’s instructions.
6. What is the best primer and sealer for new drywall?
A quality water-based drywall primer and sealer is a common choice for new interior drywall. Look for a product specifically designed to seal joint compound and untreated gypsum board. The best option depends on the drywall condition and the selected finish paint.
Conclusion
Paint and primer in one can be an effective choice for previously painted walls that are clean and in good condition. However, new drywall, water stains, glossy finishes, and major repairs often require a separate primer. The right product depends on the wall condition, existing coating, and desired finish. Proper preparation and the correct application process help prevent uneven coverage and unnecessary repainting.
If you are planning an interior painting project in Austin, TX, Color Stars Painting LLC can help you choose the right products and achieve a smooth, consistent finish. With more than 22 years of experience, our team focuses on proper preparation and quality workmanship.
Get Professional Interior Painting Services in Austin, TX
Ready to refresh your interior walls? Contact Color Stars Painting LLC for professional interior painting services in Austin, TX. With more than 22 years of experience, our team can help you choose suitable paint products, prepare your walls, and achieve a smooth, lasting finish.
Contact us today to discuss your painting project and request an estimate.
- Phone: (512) 815-0310
- Email: Servando033087@gmail.com