Skip to content


Summarize with
What Does the Interior Painting Process Include?
Six stages include estimate and color approval, protection and setup, surface prep, priming, two finish coats, and the walkthrough. In a well run interior painting process, prep and priming take about as long as the painting itself. That surprises most homeowners. Estimate and color approval happen before the field clock starts, so they are not in the table. This is the field time split on a typical 2,000 square foot Austin home.| Stage | What happens | Share of field time |
|---|---|---|
| Protection and setup | Furniture moved to room centers, floors covered, trim and fixtures masked | 10% |
| Surface prep | Wash, patch, sand, caulk | 40% |
| Priming | Repairs, stains, bare spots, and big color changes | 10% |
| Finish coats | Ceilings, then walls, then trim, two coats each | 30% |
| Walkthrough and cleanup | Punch list, touchups, cleanup, leftover paint labeled | 10% |
Before Day One: Estimate, Colors, and Your Part
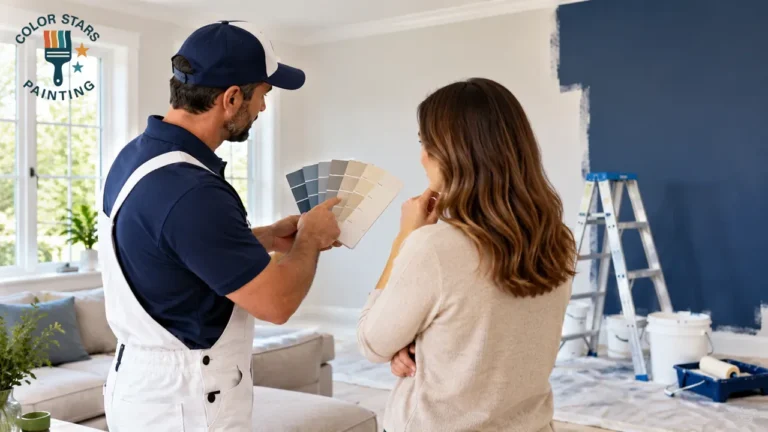
A signed estimate that includes an estimate of time for each surface, the preps for each surface, the products, the number of coats, and a start and finish date. If any of those is missing, you are comparing prices not scopes. The visit should take 30 to 45 minutes per room and 90 minutes per house. Most of the delays in the interior painting process start here but not on the job. If the crew has come by the scene and changed colours, they can cover all the walls in the room with a whole coat. And Austin light is blunt: A west facing room warms up about 4 PM; a gray to suit a noon-time day can turn purple by the dinner table.| Blue Tip: To approve a color, Blue Tip: Make a 2 foot square sample on two different walls, and take a look at it at 9 AM and 5 PM. |
- Remove things like electronics, books and breakables from the room. Roller spray is more effective than drop cloths.
- Remove paintings, mirrors and curtains. Large furniture is moved and covered by the crew.
- Inform the crew of any previous ceiling stains, leaks and pets.
- Unlock gate codes and parking before the first morning.
Day One: Protection and Surface Prep
Day one is mostly not painting. Prep decides whether a paint job still looks sharp in five years, and it is also the first thing low bids cut. Here is what a proper prep day includes, in the order it should happen.
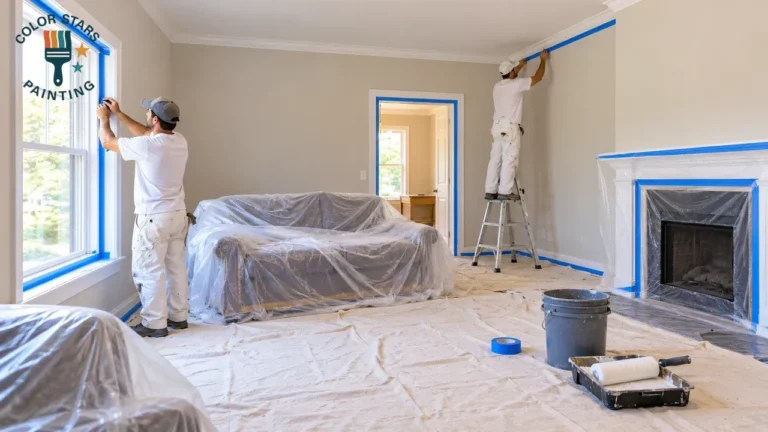
1. Protect the room. Furniture is moved to the center and covered, floors are covered with canvas drop cloths, and outlet covers, switch plates and vent covers come off. Light fixtures, door hardware and anything that cannot be removed gets masked.
2. Clean the walls. Paint does not stick well to grease, dust or soap film. Kitchen walls, bathroom walls and the area around light switches need the most attention. Our guide on wall cleaning before painting covers the right products and drying times.
3. Patch and sand. Nail holes, dents and small cracks are filled with spackle or joint compound, left to dry and sanded flush. Larger drywall damage is repaired with mesh or a patch so it does not show through the new paint.
4. Scuff glossy surfaces. Old semi-gloss and gloss paint, especially oil-based trim, is lightly sanded so the new coat can grip. Skipping this step is a common reason new paint peels off trim.
5. Prime where it is needed. Not every wall needs a full coat of primer, but these do: patched spots (so they do not flash through), new drywall, water or smoke stains (with a stain-blocking primer), and big color changes, such as going from a dark red to a light neutral.
6. Caulk last. Gaps between trim and walls are caulked after priming, because caulk bonds better to a primed surface and gives a clean, sealed line.
Two safety checks belong here. If your home was built before 1978, ask for the crew’s EPA lead-safe certification before anyone sands, because contractors who disturb paint in pre-1978 homes must follow the EPA’s lead-safe work practices. And if you have a textured popcorn ceiling in an older home, have it tested before anyone scrapes it. Our popcorn ceiling removal guide explains how testing and removal work.
Interior Painting Steps in the Right Order
Paint a room from the top down. Do the ceiling first, then the walls, then the trim, and save the doors for last. Drips and spatter fall downward, so each surface you finish stays clean while you work on the one below it. Before the first coat, decide which finish goes on each surface. Our guide to interior paint sheens helps with that. Here are the steps in order.- Prime anything that needs it. This is where most people cut corners, and it shows later. Patched spots, stains, bare drywall and a switch from a dark color to a light one all need primer. If a wall has lots of patches, prime it edge to edge, because spot-priming leaves dull areas that stand out when light hits the wall from the side.
- Use a stain blocking primer on ceiling stains. Regular latex won’t hold them back. The stain bleeds through within a few weeks. In Austin, most ceiling stains trace back to an AC drain pan that overflowed during the summer.
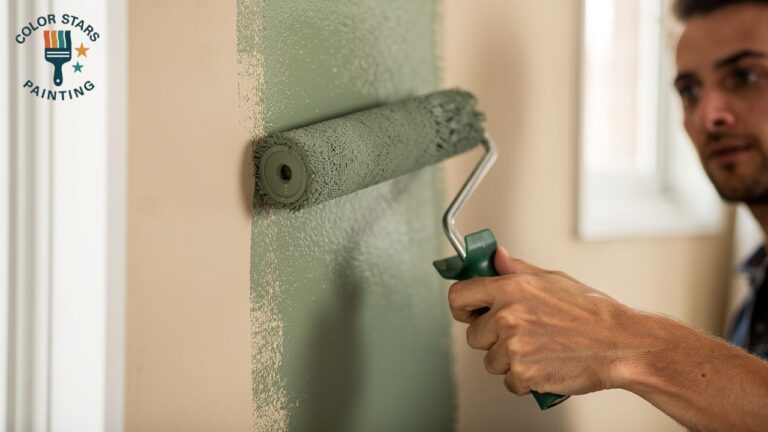
- Roll on the first top coat. One coat rarely gives you full color or a film thick enough to hold up, so plan on two.
- Wait out the recoat time, then apply the second coat. Most latex paints need about 4 hours between coats and longer on humid days. Check the can for the exact time.
- Match the sheen to the room. Satin or eggshell works in hallways, kitchens and living rooms since it wipes clean. Flat suits bedrooms and ceilings. Trim and doors get semi-gloss.
What to Expect at Home While Painters Work
Expect paint fumes for 24 to 48 hours while painting and after painting. Open windows while painting and cleaning up. While the room is being painted, the rest of the house remains accessible. The only aspect of the interior painting process that relies on you just as much as on the crew is ventilation. Many VOCs are found in greater concentrations indoors than outdoors and the EPA has found that the levels of many VOCs can be up to ten times higher than outdoors, so the EPA suggests opening windows when using these products. Low VOC paint reduces odors, it doesn’t eliminate them.| Blue Tip: To change the HVAC filter, change it on the day which the crew completes. It will also have collected sanding dust and a clogged one will fling this dust back into newly painted rooms. |
How Long Does Interior Painting Take?
Most single rooms take 1 to 2 days, and a full home takes 3 to 7 days depending on square footage and wall condition. Prep drives that range far more than the painting does. Anyone asking how long does interior painting take wants one number, but the honest answer is a range tied to repairs. These are typical crew times with 2 to 3 painters.| Project | Typical crew time |
|---|---|
| One bedroom, walls only | 1 day |
| One room with walls, ceiling, and trim | 1 to 2 days |
| Three or four rooms | 2 to 3 days |
| 2,000 square foot home, walls only | 3 to 4 days |
| 2,000 square foot home, walls, ceilings, and trim | 5 to 7 days |
How the Process Affects the Price
Interior painting is priced mostly on labor, not on gallons of paint. The steps above are what move a quote up or down: prep hours, ceiling height, the amount of trim, wall repairs and the number of colors. For current Austin price ranges by room and house size, see our interior painting cost guide. A fair quote is always based on an on-site look at your walls.
How to Spot Professional Interior Painters Before You Sign
Professional interior painters offer a job type when it comes to writing, make sure to cover the room before they pick up the paint can and provide primer and coats per square surface. A crew that skips any of the three is running a shorter job than the one you are paying for. Watch for these:- One number, no scope. Without surfaces, prep, and coat count on paper, nothing stops a ceiling from getting one coat.
- Bare floors and furniture on Day One. A crew careless with your floors will be careless with your edges.
- No mention of primer on repairs or stains. The patches show through as dull spots.
- Most of the price demanded upfront. Pay a deposit, not the balance. Final payment follows the walkthrough.
- Tools in every room and no room finished by Day Three. A scattered jobsite usually predicts a scattered schedule.
The Final Walkthrough: What to Check Before You Pay
The final walkthrough is a room by room inspection with the foreman in daylight and before the last invoice is paid. Whatever you find goes on a punch list and gets fixed before the crew leaves.| Blue Tip: Hold your phone flashlight flat against each wall and slowly sweep it to the Roller marks and thin spots that will disappear at noon. |
- Cut lines where walls meet ceilings and trim
- Baseboard bottoms and the floor beside them for drips
- Inside corners and behind doors
- Switch plates and hardware, reinstalled and clean
- Leftover paint, labeled by room with color name and sheen for future touchups
Ready to See This on Your Own Walls?
Color Stars Painting LLC brings 22+ years of experience to homes across Austin and nearby cities. Call (512) 815-0310 or email Servando033087@gmail.com for a free quote, and we will walk you through the interior painting process on your own walls before a single drop cloth goes down.Frequently Asked Questions
What is the 70/30 rule in painting?
It means roughly 70 percent of a lasting paint job is preparation in the trade and 30 percent is applying paint. Designers use the same ratio for color with one dominant shade on about 70 percent of a space and an accent on the rest.What is the correct order of operations for painting an interior room?
Repair and sand first, then prime. Next, paint the ceiling, then the walls, then the trim and doors. Working from top to bottom means drips land on surfaces you have not painted yet.How long to repaint after the first coat?
Most latex paints can take a second coat after about 4 hours. On humid days, it may be necessary to wait until the next day or up to 6 hours. Always follow the manufacturer’s instructions on the can.Which areas do you serve?
We serve Austin, Pflugerville, Round Rock, Cedar Park, Manor, West Lake Hills and Rollingwood.Do you paint older homes in Austin neighborhoods like Hyde Park and Travis Heights?
Yes. Homes built before 1978 can have lead paint, plus settled drywall cracks that need extra prep. We look at the walls during your free estimate and put the prep for each surface in writing.Can I get a free estimate if I live in Round Rock, Cedar Park, or Pflugerville?
Yes. Estimates are free in every city we serve. Call (512) 815-0310 and we will set a time to look at your rooms.Do I need to buy the paint?
No. We buy premium paint through our professional accounts and include it in your quote.Do you move furniture and repair drywall?
Yes to both. Move smaller or fragile items yourself. We relocate and cover larger pieces. Nail holes & dents and cracks are repaired as a standard part of prep.Do you paint cabinets, ceilings, and trim as well as walls?
Yes. Walls, ceilings, trim, molding, and kitchen and bathroom cabinets are all part of our interior work.Sources
- U.S. Environmental Protection Agency: supports the share of pre-1978 homes with lead paint and the contractor certification requirement.
- U.S. Environmental Protection Agency, Volatile Organic Compounds’ Impact on Indoor Air Quality: supports indoor VOC levels, paint solvents, and the open window recommendation.