Skip to content
Summarize with
A doorknob pierces the wall of a bedroom or a piece of cracked plaster from the area. A fist sized dent is left in the corridor as movers back a wardrobe. All Austin residents will have to deal with this at some point.
Getting the patch right matters just as much before a full round of interior painting services since paint reveals every flaw a rushed repair leaves behind.
If your walls need more than a patch kit then Color Stars Painting LLC answers questions by phone at (512) 815-0310. No appointment needed. Just call us and ask for your problem.
Why A Small Hole Rarely Stays Small
Drywall damage does not sit still. Moisture from a nearby bathroom or a leaky window seeps into the exposed gypsum. It softens the edges over a few months. Dust and cobwebs settle into the gap too, and it appears through fresh paint even after a patch goes on.
That’s why a rushed repair often looks worse a year later than the original hole did. Wait too long and small dings pile up. What could’ve been one quick fix turns into three or four repairs at once.
Tools For A Clean Drywall Patch Guide
You don’t need a contractor’s toolbox for most jobs. And you don’t need to book interior painting services just to fix a nail hole.
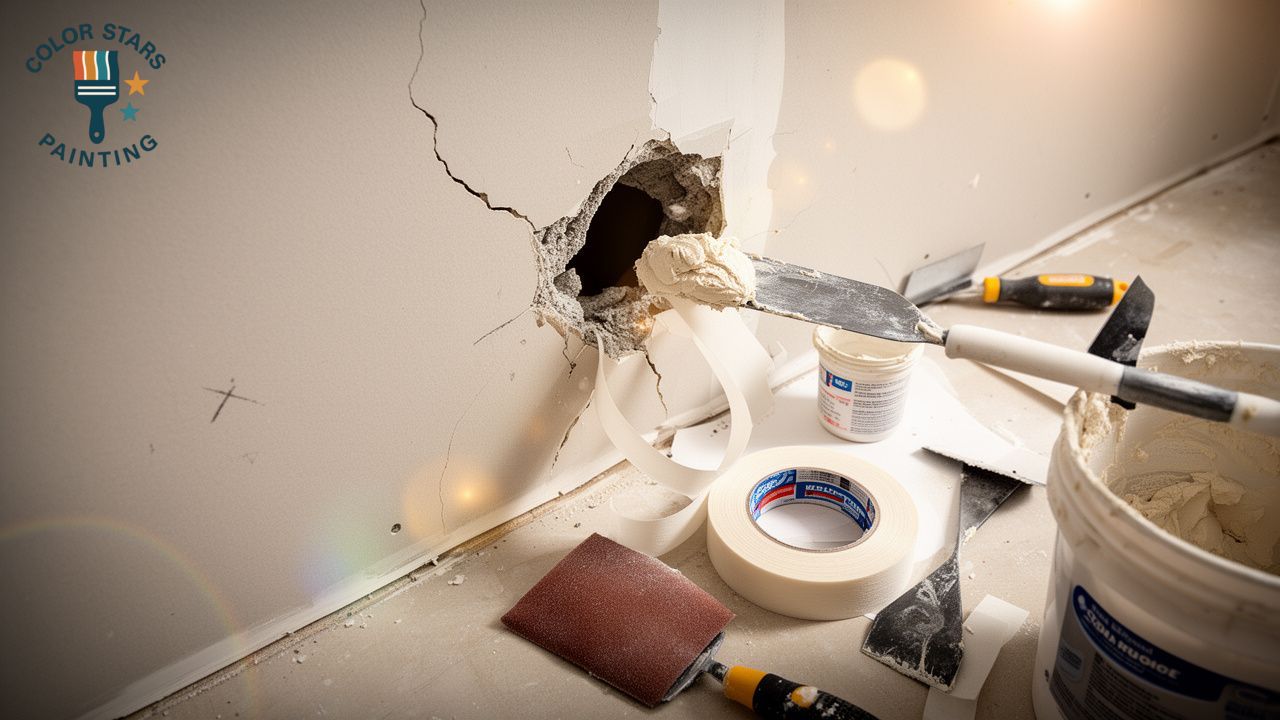
A basic drywall patch guide kit includes:
- A utility knife and a rasp or coarse sandpaper
- Joint compound (also called mud) and a 6 inch putty knife
- Self adhesive mesh tape for anything larger than a nail hole
- A scrap piece of drywall for holes bigger than a fist
- 150 and 220 grit sanding sponges
- A stain blocking primer
Skip the spray foam fillers sold as quick fixes. They shrink as they cure. They occasionally hold paint the way real joint compound does. Knowing how to patch drywall with the right materials from the start saves a second trip to the hardware store later.
Patching Small Holes Step By Step
Step 1: Clean The Edges
For anything under a half inch drywall hole repair takes about ten minutes plus dry time. Start by brushing away any loose debris around the hole.
Step 2: Apply The Compound
For fixing a hole in drywall just press a small dab of lightweight joint compound into the hole with a putty knife. Scrape it flush with the wall.
Step 3: Let It Dry
Give it a couple of hours. Do not rush this part.
Step 4: Sand Lightly
One coat is normally enough. Sand until it is smooth to the touch. If the wall has texture then dab a bit of compound with a sponge to mimic the pattern before it sets. Skip that step and the patch reads as a flat spot under light from a window.
Fixing A Doorknob Sized Hole
This is where most DIY attempts go wrong. A doorknob hole needs backing behind it, or the patch cracks the first time someone bumps the wall again.
Step 1: Cut A Backing Piece
Cut a piece of scrap drywall a couple of inches wider than the hole on all sides.
Step 2: Thread A String
Drill a small hole in the center of the scrap piece and thread a string through it.
Step 3: Coat And Insert
Coat the back edges with joint compound. Slide the piece through the opening so it sits flush against the inside of the wall.
Step 4: Hold And Trim
Pull the string tight while the compound sets. Trim the string once everything is dry.
This method is sometimes called a California patch. It holds up far better than the mesh patch kits sold at most hardware stores for mid size holes.
Repairing Damaged Drywall From Impact
Bigger damage calls for a different approach entirely. Think a doorknob that’s hit the same spot dozens of times, or a section crushed during a move.
Step 1: Cut Down to the Studs
Cut the damaged drywall back to the nearest studs on both sides. Repairing damaged drywall at this scale means measuring twice. Drywall sheets are heavy, and they are awkward to cut precisely on the first try.
Step 2: Screw In The New Piece
Screw the new piece to the studs every eight inches.
Step 3: Tape The Seams
Tape all four seams with mesh or paper tape.
Step 4: Apply Thin Coats
Apply three thin coats of compound rather than one thick coat. Thick coats crack as they dry and cracks telegraph through paint months later.
Drywall Repair Steps Before You Sand
Once the compound is dry, the drywall repair steps that come next decide whether the wall looks patched or invisible.
Run a hand across the area first. Feel a ridge? Sand it down with a pole sander using long even strokes. Small circles tend to gouge soft compound so avoid those.
Wipe the dust with a slightly damp cloth. A dry rag just spreads dust around the room. Let the wall dry fully before moving to primer.
Priming Before Interior Painting Services Begin
This step gets skipped more than any other. And it’s the one that ruins finishes.
Bare joint compound is porous. It absorbs paint differently than the surrounding drywall. Skip the primer, and patched spots show up as a dull, flat patch even under two coats of your best paint.
Any contractor offering interior painting services in Central Texas will tell you the same thing:
- Prime the patch first.
- Feather the primer two inches past the repair onto the existing wall.
- Let it cure fully before the topcoat goes on.
Skip this and you will end up with ghost spots on an otherwise smooth wall. It is the single biggest reason DIY patches do not disappear the way they should.
Best Weather for Wall Hole Repair in Austin
Austin’s humidity swings hard, from a wet spring to a bone dry August. That matters for wall hole repair before painting.
Joint compound cures slower in humid weeks. Patches applied right before a rainy stretch need extra drying time, or they’ll gum up your sandpaper fast.
Planning a repaint around March through May, or October through November? Give patch work at least three days ahead of the paint crew so everything cures fully first.
A Note On Older Homes
Homes built before 1978 carry another consideration. Sanding old paint layers can disturb lead based paint. Federal rules under the EPA’s Renovation, Repair, and Painting Program require lead safe work practices on qualifying older properties. Worth knowing before anyone starts sanding a wall in an older Travis Heights or Hyde Park bungalow.
When Drywall Patching Tips Aren’t Enough
Some jobs go past what a weekend and a putty knife can fix.
Water stained ceilings. Holes near electrical boxes. Cracks that keep coming back along the same seam. Damage spread across multiple rooms. These usually point to something structural, or a moisture source that needs attention first.
The drywall patching tips only get you so far at that point. It is worth having someone look at the wall in person. Larger projects that touch framing, or extend past 128 square feet of existing material, may also need a permit through the City of Austin. The city’s Work Exempt from Building Permits page lays out which repairs qualify as minor. Worth a quick read before starting anything beyond a patch or two.
Color Stars Painting LLC handles drywall repair and installation alongside interior and exterior painting for homes throughout Austin, Round Rock, Cedar Park, Pflugerville, Georgetown, Leander, Hutto, Manor, Kyle, and Buda. Every estimate is free, with no pressure to book on the spot.
Getting The Wall Ready For Paint
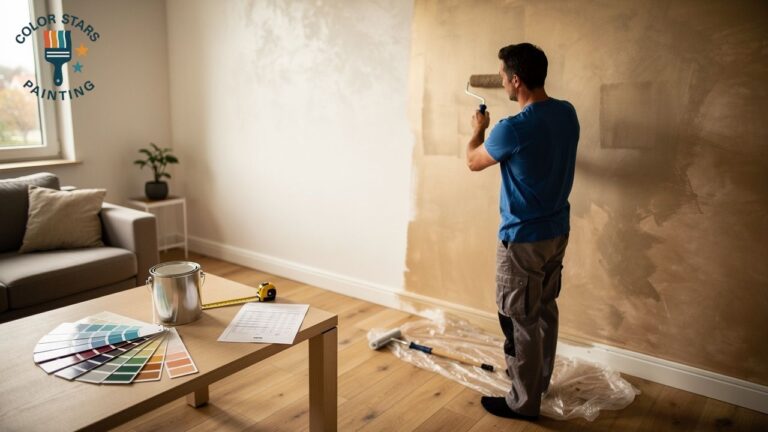
A patched wall is not finished until it is primed. And a primed wall is not finished until the sheen and color match the rest of the room.
This is usually where homeowners realize one repaired section calls for repainting the full wall and not just the patch. Why? Even the same paint can look slightly different in tone after a few years of sun exposure through a window. If that sounds like more than you planned for then calling a crew that handles both drywall repair and interior painting services daily saves the guesswork.
Ready For A Smooth, Even Finish?
Still worrying about how to repair a hole in drywall that needs fixing before a repaint? Patching a wall is only half the job. So getting a finish that disappears into the rest of the room takes an eye trained on hundreds of walls.
Ready to talk through interior painting services for a full room? Reach us at Color Stars Painting LLC by phone at (512) 815-0310 or by email at Servando033087@gmail.com. Every estimate is transparent and every recommendation includes an honest look at whether a patch or a full wall repaint gets you the best result.
How long does joint compound need to dry before painting?
Most lightweight compounds dry within two to four hours per thin coat. Full curing before priming takes closer to 24 hours, longer in humid weather.
Can I paint directly over a drywall patch without primer?
You can, but the patch will almost always show through as a dull or flat spot. That’s because compound absorbs paint differently than the surrounding wall.
What is the difference between spackle and joint compound?
Spackle works fine for tiny nail holes. Joint compound is better for anything larger because it sands smoother and bonds better with tape on seams.
Do I need mesh tape for every drywall repair?
No. Mesh tape is needed for holes wider than about an inch, or any repair involving a seam. Small dings and nail holes usually don’t need it.
Sources referenced for this article:
- U.S. Environmental Protection Agency, Lead Renovation, Repair and Painting Program.
- City of Austin Development Services Department, Work Exempt from Building Permits.
- City of Austin Development Services Department, general permitting guidance.