Skip to content
Summarize with
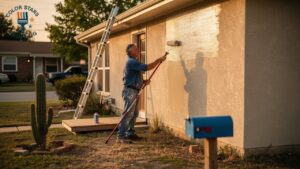
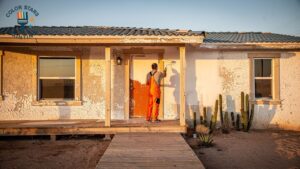
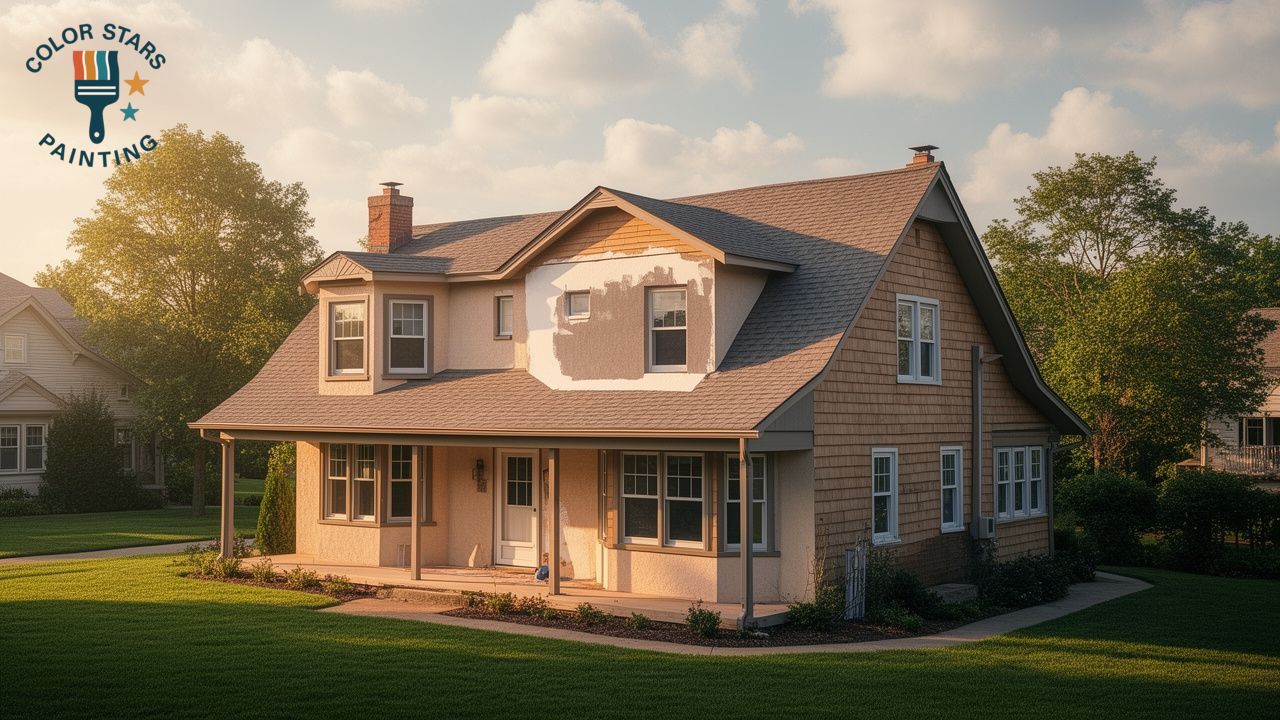
A freshly painted house boosts curb appeal, but many homeowners don’t realize the preparation and effort behind a quality exterior painting job. Knowing how to prepare the exterior of your home before painting determines how long your paint will last.
Professional painters stress that long-lasting exterior paint results depend more on proper surface preparation than on the topcoat itself.
If you’re planning how to prepare the exterior of your home before painting on your own, or want to know how a contractor should do it from the start, this guide educates you on all the important aspects.
Why Preparation Matters More Than the Paint Itself
Exteriors of houses are under so much stress from climatic conditions. Sun, humidity, rain, and high temperatures can affect the lifespan of the exterior paint.
Paint applied on a dirty, damp, rough surface will not be long-lasting. To prolong the life of paint, professional painters stress the importance of preparation before painting.
Bad preparation will hardly last 5 years, whereas good preparation will last 15 years. The difference between the two is huge. Weather also plays an important role in proper bonding of paint.
Most professional painters recommend applying exterior paint when temperatures range between 50°F and 80°F to ensure proper adhesion and durability. Temperatures outside this range will alter the drying time of paint. It will result in cracks and peeling.
Step 1: Inspect Every Side of the House
Before painting, first walk through your home in daylight. Look carefully for cracks, peeling, moisture, or water cracks. If moisture is present, you have to treat that first.
Also check the underside of the roof and gutters for any white powdery residue. This is called efflorescence. It means moisture is locked inside your home. Before you start painting the house, take pictures of all of your home walls.
You can clearly see the difference afterwards. If you live in a house that was built before 1978, a detailed inspection is even more necessary.
Step 2: Clean Exterior Walls Before Painting
Cleaning your exterior walls before painting is an essential step. The surface to be painted should be free from dirt, chalk, or mildew.
Knowing how to clean exterior walls before painting properly is one of the most overlooked steps in the entire process. Grimed surfaces can be removed with low-pressure washes. It doesn’t penetrate panels or wood.
For mildew-covered surfaces, a diluted bleach solution will do the job. Let the treated surface dry for 24 to 48 hours. Apply primer after the surface is completely dry. Humid weather conditions affect drying. Dry a little longer in humid weather.
Step 3: Scrape, Sand, and Repair Damaged Surfaces
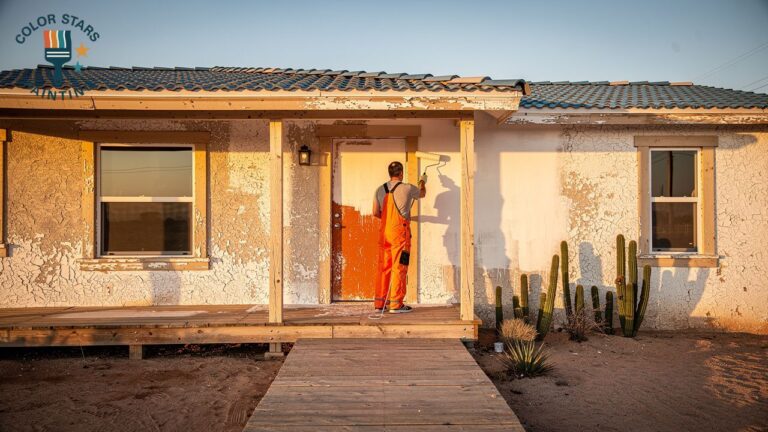
Before applying a new coat, sanding is the first step. If you apply a new coat directly, fresh paint will come off with the old paint. Scrape off the loose sections, then sand the surface thoroughly.
Now look for any cracks or gaps. Fill them with exterior-grade filler. Ignoring these steps is one of the most common reasons that affects paint durability. The key is to do all these steps.
Step 4: Prep Siding Before Painting Based on Material
How you prep siding before painting depends heavily on what it is made of.
- Wood siding: For proper preparation, sand the damaged areas down to bare wood. Then apply primer or conditioner on any exposed knots.
- Vinyl siding: Cleaning should be done earlier. Look for any part of the siding that is not bent or warped. Skipping surface cleaning before painting can lead to cracking, as dirt and debris prevent proper adhesion when materials expand and contract.
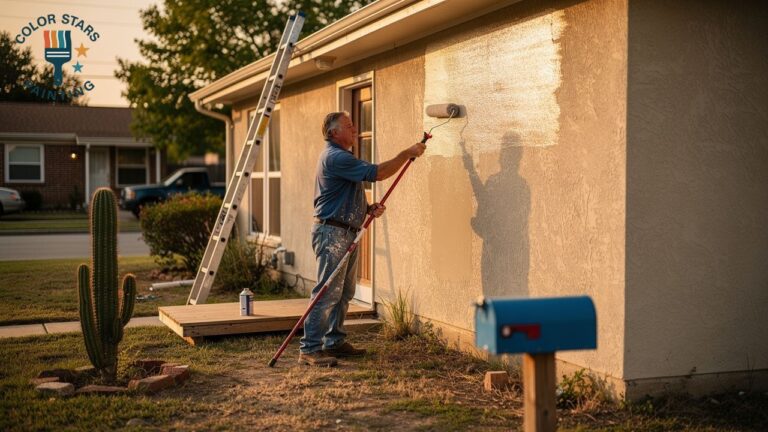
- Stucco: It often has cracks that need to be repaired before painting. Repair the crack with elastomeric patching compound before priming. Since stucco expands seasonally, standard fillers can fail.
- Fiber cement and metal siding: Light sanding improves paint adhesion, while applying a rust-inhibiting primer to exposed metal surfaces helps prevent corrosion and extends the lifespan of the paint.
Proper surface preparation based on siding material creates a major difference between DIY results and professional exterior painting services. Professionals have all the tools and primer for each surface they paint.
Step 5: Protect Landscaping, Fixtures, and Walkways
Firstly, cover furniture, flower beds, and outdoor furniture before any painting, as dust travels much farther than owners expect. This step is more necessary in 1978 homes, where trapped chips may contain lead. They need to be collected.
Use a plastic sheet and painter’s tape to cover light fixtures, house numbers, and hose bibs, and mask off windows and doors.
Step 6: Caulk Gaps and Prime Bare Surfaces
Caulking around windows, doors, and trim seams helps seal gaps and prevent water from entering joints, reducing the risk of mildew growth and early paint failure. Avoid sealing the bottom edge of siding, as this gap allows trapped moisture to escape and protects the structure from hidden water damage.
Once the caulk has fully cured, apply a high-quality primer to bare wood, repaired areas, and stain-prone spots. Primer creates a smooth, sealed surface that improves paint adhesion and ensures a consistent, even finish that holds up in sunlight.
Exterior Painting Preparation Checklist
This is a quick exterior painting preparation checklist you can use before painting starts:
- Inspect all four sides of your home and document any damage with photos to guide proper surface preparation.
- Test for lead paint if the home is from before 1978
- Pressure wash and let the surface dry for 24 to 48 hours
- Scrape and sand loose or peeling paint
- Repair rotten wood, cracks, and warped panels
- Prep siding according to its specific material
- Cover landscaping, fixtures, and walkways
- Caulk gaps and apply primer to bare spots
- Confirm the weather forecast shows 50 to 80 degrees with a low chance of rain
When to Call Professional Exterior Painting Services
DIY prep is justified for a small, single-story home with straightforward siding. But for steep rooflines, detailed wood rot, or a suspected lead issue, call Color Stars Painting LLC for licensed Exterior Painting Services.
Color Stars Painting LLC ensures a durable, high-quality finish thanks to expert prep work, proper techniques, and long-lasting materials, unlike most DIY painting projects.
FAQs
How long should I wait after washing before painting?
You should wait at least 2 to 4 days. Painting over the moist surface will result in early peeling. This affects the durability of paint.
Do I need to prime the entire house or just the repaired spots?
Filling patched cracks and priming bare wood is usually enough. You will need a full-surface primer coat only when there is a full change of paint colour.
What temperature is too cold or too hot to paint exterior walls?
The temperature range should be from 50 to 80 degree Farenheit. Below or above this range is considered too cold or too hot. This will result in less adhesion, causing the paint to blister.
How often should a home’s exterior be repainted?
If the preparation is done properly by a professional, paint will last 7 to 15 years. Poorly prepared exteriors can last from 3 to 5 years.
Sources
- Angi, “How to Prep a House for Exterior Painting in 8 Steps,” updated April 2026 – https://www.angi.com/articles/6-steps-prepare-your-home-exterior-paint.htm
- Sound Painting Solutions, “Exterior Painting Prep Checklist” – https://www.soundpaintingsolutions.com/exterior-preparation-checklist/
- KC Painters, “Exterior Painting Prep Checklist: 24 Things to Do Before You Start,” March 2026 – https://kc-painters.com/resources/checklist/exterior-painting-prep-checklist