Skip to content

Cleaning interior walls is the first step toward a professional paint finish that lasts for years. To clean walls properly, start by removing surface dust with a vacuum or microfiber cloth, then wash the surface using a mixture of warm water and a mild grease-cutting detergent. This process eliminates oils, fingerprints, and hidden grime that prevent paint from bonding to the surface. Failure to clean walls results in peeling, bubbling, and visible streaks once the new coat dries.
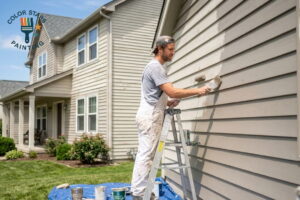
Color Stars Painting LLC utilizes these preparation methods to ensure that every surface is ready for optimal adhesion. Preparing the substrate is more than a chore; it is a technical requirement for high-quality results. Whether the project involves a single room or an entire house, the cleaning phase dictates the durability of the final product.
Necessary Cleaning Supplies and Tools
Gathering the right materials before starting saves time and prevents interruptions. Professional painters often rely on a specific set of tools to achieve a clean surface without damaging the drywall or existing finish.
The choice of cleaning agent depends on the condition of the room. For example, kitchens often require stronger degreasers compared to bedrooms. Using the wrong chemicals can leave a residue that is just as problematic as the dirt it was meant to remove.
Choosing the Right Cleaning Solution
| Cleaning Agent | Best Use Case | Mixing Ratio |
|---|---|---|
| Mild Dish Soap | General living areas and bedrooms | 2-3 drops per gallon of warm water |
| Trisodium Phosphate (TSP) | Heavy grease, smoke soot, or glossy surfaces | Follow manufacturer instructions |
| Vinegar and Water | Removing water-soluble stains or odors | 1 cup vinegar to 1 gallon water |
| Plain Warm Water | Final rinse for all surfaces | No additives needed |
The Step-by-Step Cleaning Process
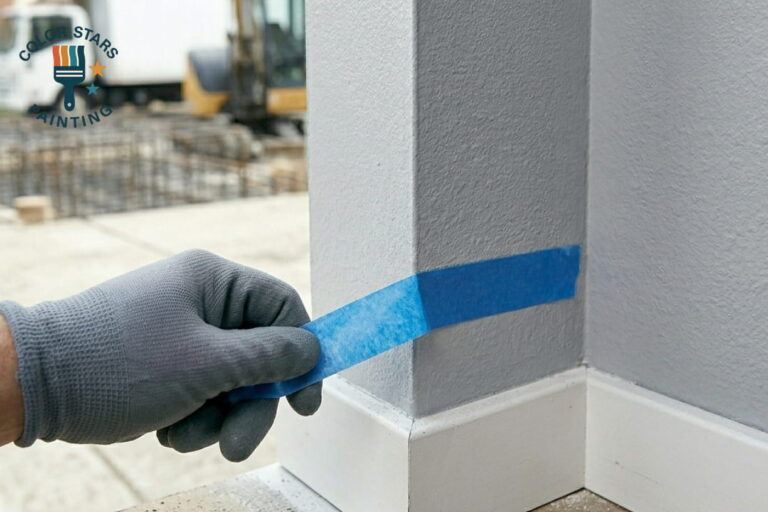
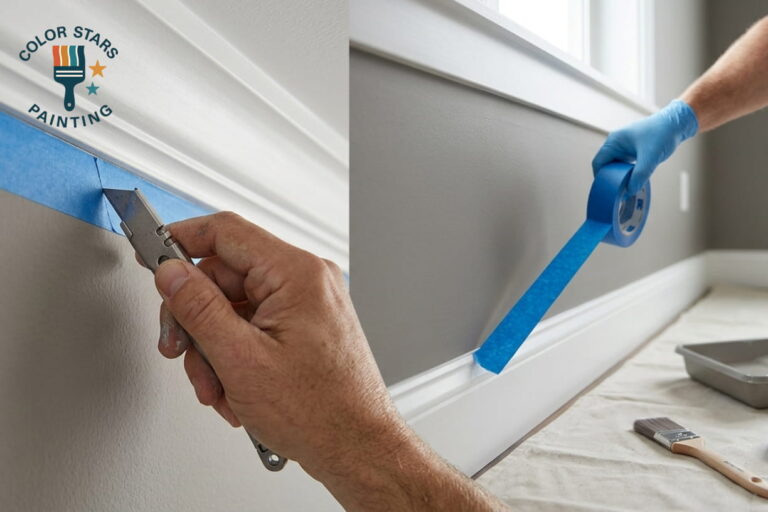
Begin by protecting the floor and any furniture remaining in the room. Use drop cloths or plastic sheeting to catch drips. Once the area is secure, follow these stages to ensure the walls are spotless.
Dry Dusting the Surface
Before applying any liquid, remove loose debris. Dust clings to walls, especially near baseboards and in corners. A vacuum with a brush attachment works well, but a microfiber mop or a tack cloth is often more efficient for large areas. According to a technical guide from Sherwin-Williams, removing dust prevents it from mixing with the paint and creating a gritty texture on the wall.
Bonus Tip: Use a long-handled floor mop with a clean microfiber pad to reach the top of the walls without using a ladder. This saves physical energy and speeds up the dusting phase for rooms with high ceilings.
Washing with Detergent
Dip a large sponge into the cleaning solution and wring it out until it is damp rather than soaking wet. Start at the bottom of the wall and work upward. This technique prevents dirty water from running down dry sections of the wall and leaving permanent streak marks. Scrub gently in a circular motion, paying extra attention to areas around light switches and door frames where hand oils accumulate.
Rinsing and Drying
After washing a section, go back over it with a fresh sponge dampened with clean water. This removes any soapy residue. According to data provided by Statista, home improvement spending continues to rise, and homeowners often perform these tasks themselves to save money. However, failing to rinse the detergent off can cause the primer to fail, leading to more expensive repairs later.
Handling Specific Stains and Issues
Not all wall contaminants react the same way to mild soap. Certain areas of the home face unique challenges that require targeted treatments.
Kitchen Grease and Bathroom Grime
Kitchens are prone to airborne cooking oils that settle on walls, creating a slick film. Bathrooms often have soap scum or water spots. In these cases, a stronger solution like TSP is effective. TSP also helps degloss old paint, which makes it easier for the new layer to stick. Color Stars Painting LLC recommends using TSP only when necessary and wearing gloves to protect the skin from its caustic nature.
Crayon and Scuff Marks
For homes with children or pets, walls may have wax-based stains or deep scuff marks from shoes. A melamine sponge (commonly known as an eraser sponge) can remove these quickly. Use light pressure to avoid polishing the wall or removing the existing texture.
Bonus Tip If a stain refuses to come off after washing, do not keep scrubbing. Instead, let the wall dry and apply a high-quality, stain-blocking primer before painting. This seals the stain so it does not bleed through the new color.
Factors to Consider Before Starting
Several variables influence how a wall should be cleaned and whether additional steps are needed before the first brush stroke.
- Existing Paint Type: Glossy paints need more aggressive cleaning or light sanding to create “tooth” for the new paint. Flat paints are more porous and can be damaged by heavy scrubbing.
- Presence of Mold or Mildew: If black spots are visible, a bleach and water solution is required to kill the spores. Painting over mold does not stop its growth.
- Lead Paint Hazards: In homes built before 1978, the existing paint may contain lead. A report from the Environmental Protection Agency warns that sanding or washing lead-based paint can release toxic dust. Always test older homes before beginning prep work.
- Wall Texture: Heavily textured walls like popcorn or knockdown finishes, trap more dust. These require a vacuum with a soft brush rather than a sponge, which might crumble the texture.
Professional Cleaning Standards
Achieving a flawless finish involves more than just aesthetics. Data from Home Advisor suggests that labor accounts for a significant portion of professional painting costs, and much of that labor is dedicated to preparation. When the surface is properly decontaminated, the paint flows better, covers more area, and resists cracking.
Color Stars Painting LLC emphasizes that a clean wall is a stable wall. If the paint is applied over a layer of dust, the bond is only as strong as the dust’s attachment to the wall. Eventually, the weight of the paint pulls the dust away from the surface, causing the paint to flake off in large sheets.
Common Questions About Wall Preparation
Many people wonder if they can skip the washing step if the walls look clean. Even if no visible dirt exists, microscopic oils and dust are present. Others ask about using vinegar. While vinegar is a natural cleaner, it is not always effective against heavy grease. The following questions address common concerns encountered during the wall preparation phase.
Does every room need to be washed?
Not necessarily. Low-traffic areas like guest bedrooms might only need thorough dusting. However, kitchens, bathrooms, and hallways should always be washed due to the higher likelihood of grease and touch points.
Can I use a power washer on interior walls?
No. Power washers use too much force and volume for interior spaces. They will saturate the drywall, damage the core, and likely cause mold issues inside the wall cavity. Stick to sponges and buckets.
Is sanding necessary after cleaning?
Sanding is often needed if the previous paint is very glossy or if there are patched areas. Cleaning removes the dirt, while sanding creates the physical profile needed for the paint to grip.
What happens if I paint over a damp wall?
The paint will fail to cure correctly. It may look fine initially but will likely peel or remain tacky for an extended period, attracting even more dust and hair.
Key Steps for Success
Preparation is the most labor-intensive part of any painting project. Removing dust, washing away grease, and allowing for proper drying are the hallmarks of a quality job. Evaluate the specific needs of each room based on its use and the type of stains present. Using the right cleaning agents prevents chemical interference with the new paint.
Before starting, check for lead paint in older homes and address any mold issues. Take the time to rinse away detergent residues to ensure the primer and paint can bond directly to the substrate. This methodical approach ensures the final result is beautiful and long-lasting.
Professional Painting Services
Color Stars Painting LLC provides expert interior painting services that prioritize thorough preparation. For questions about a specific project or to schedule a consultation, contact the business at (512) 815-0310 or via email at Servando033087@gmail.com. Expertise in surface preparation ensures that every interior wall receives the attention it deserves for a high-end finish.
Sources
- Sherwin-Williams – A professional guide on surface preparation and cleaning techniques for interior painting projects.
- Environmental Protection Agency – Official safety guidelines regarding lead-based paint hazards in residential properties.
- Statista – Market data regarding the growth and trends of the home improvement and DIY painting sector.
- HomeAdvisor – Resource for understanding the breakdown of costs and labor involved in professional painting and preparation.